Action Blocks in Bot Builder
Action blocks are the building blocks for the bot. You use action blocks to trigger an action such as initiating a conversation, collecting an input, sending API request, transferring to a human agent and more.
So lets dive in!
The Bot Builder has multiple action blocks that you can use to build your bot flow.
Trigger
A bot starts with a trigger – an action user performs to initiate a bot flow or a conversation. By default, the bot is triggered to appear without any condition defined.
There are 3 action blocks that you can trigger the bot with:
- Message Trigger
- API Trigger
- Form Trigger
Message Block
During a conversation, the bot may send informative messages to the user and does not expect a response back from them. These messages help build up the conversation rather than having a monotonous job of collecting input from the user.
With this action block, you can send a series of informative messages that can be either text or rich media (images, videos, pdfs).
Message Block Components
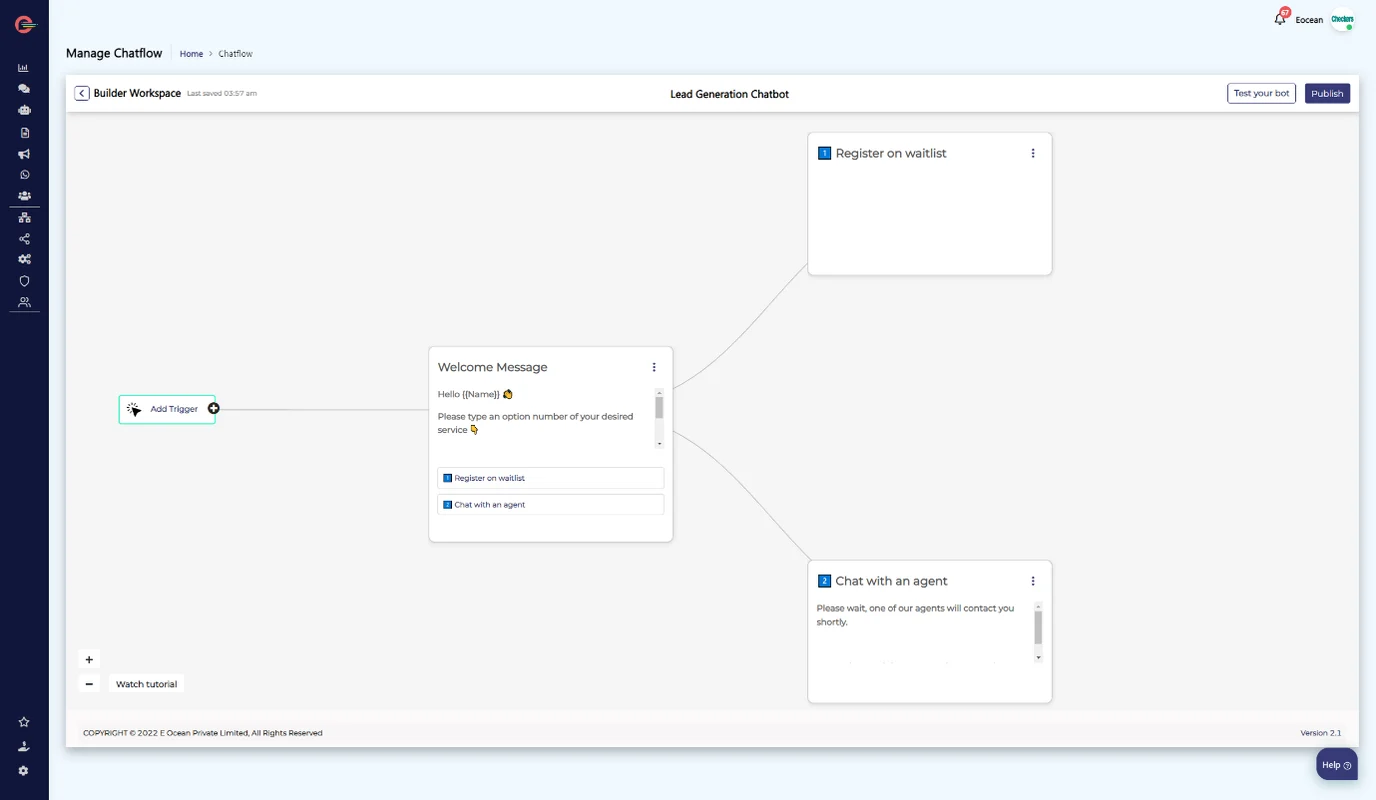
You can open the message block tray by clicking on the Add Trigger within the builder canvas.
Video Not Available
There are 4 major components in a Message block.
1. Trigger Name
You can provide a trigger name for your understanding and in order to make it unique.
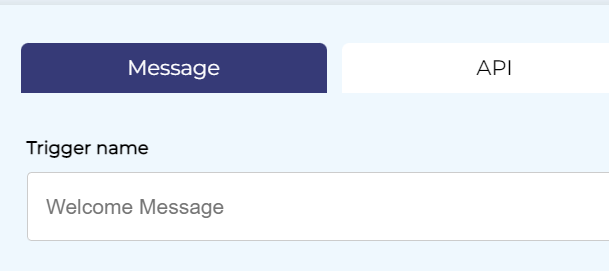
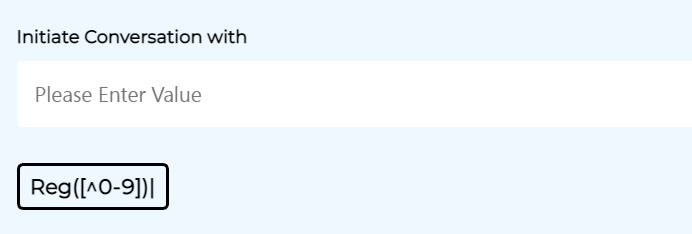
2. Initiate conversation with
You can add keywords so that whenever a user types those keywords, a bot response or a flow is initiated.
3. Bot Response
You can add responses for your bot that the user will receive whenever a trigger is initiated based on user action. Bot response could either be a text, media or template message.

Text message
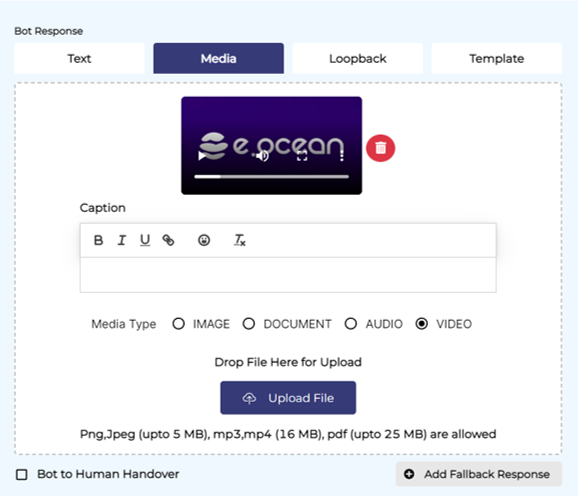
Media message
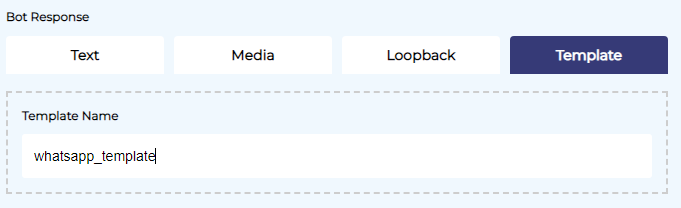
Template message
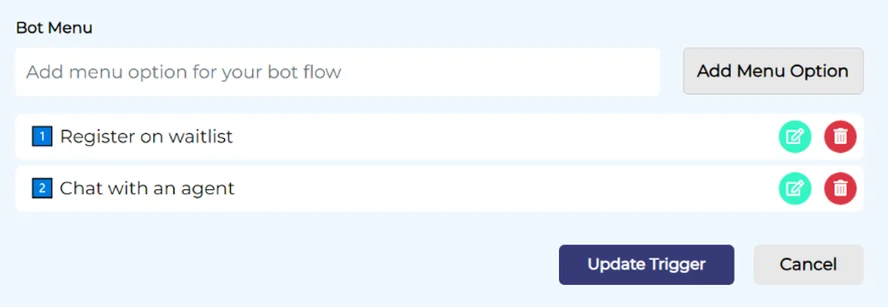
4. Bot Menu
If you want to add menu options, you can click on Add Menu Option to create new options and they will be added as new triggers.
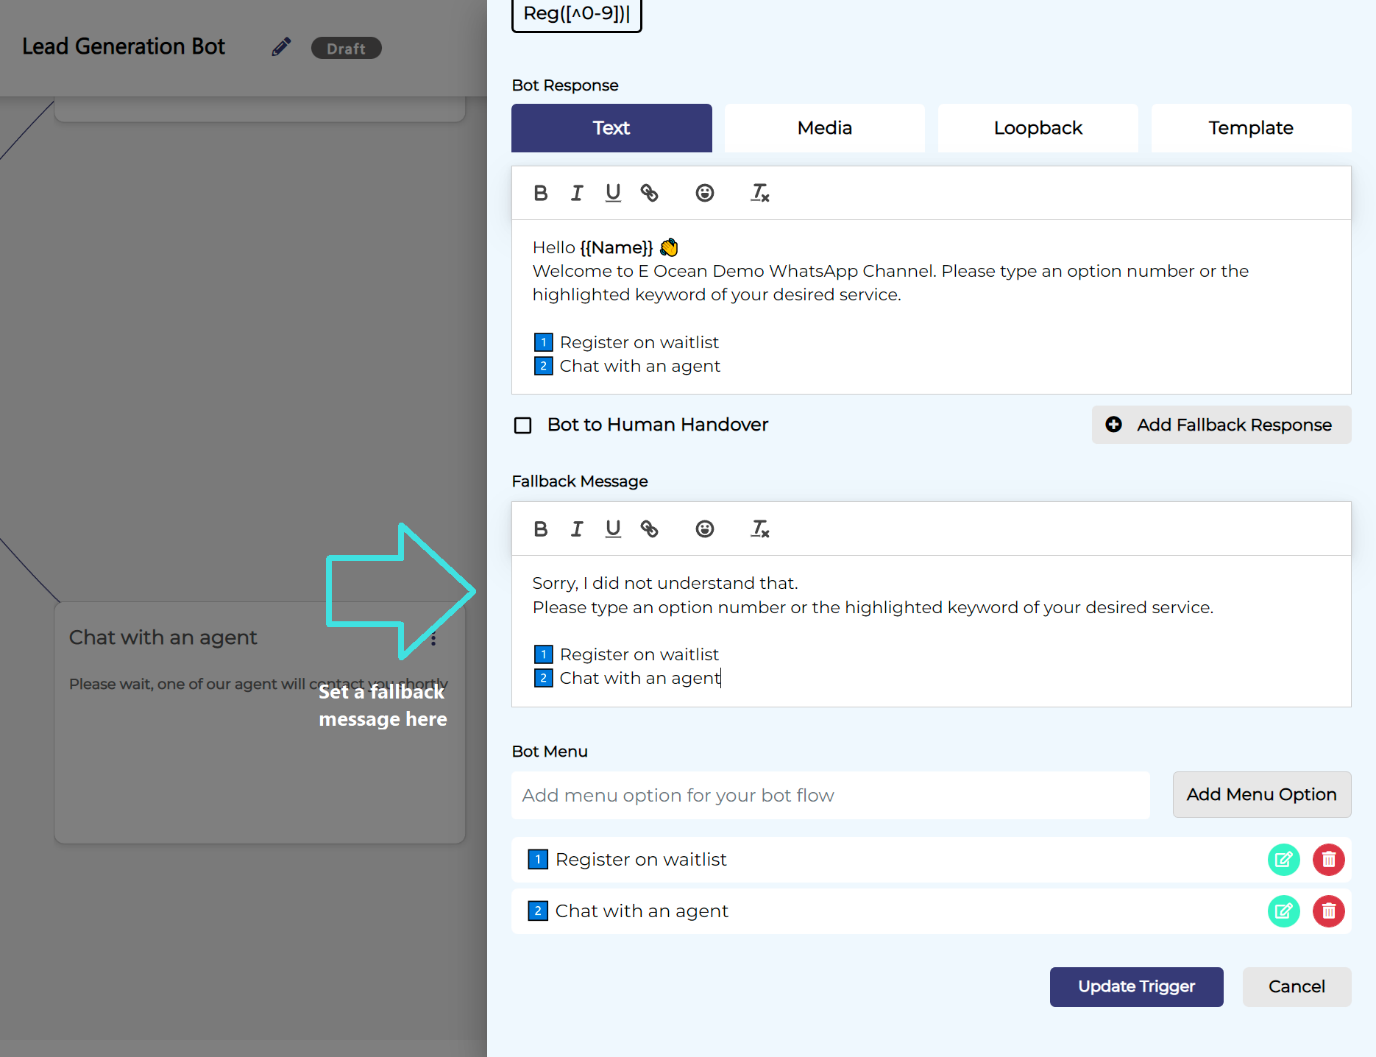
Add Fallback Response (Optional)
The fallback response is triggered when your bot doesn’t recognize the user’s message. You can add a fallback message to trigger a bot response whenever customer sends an invalid message.
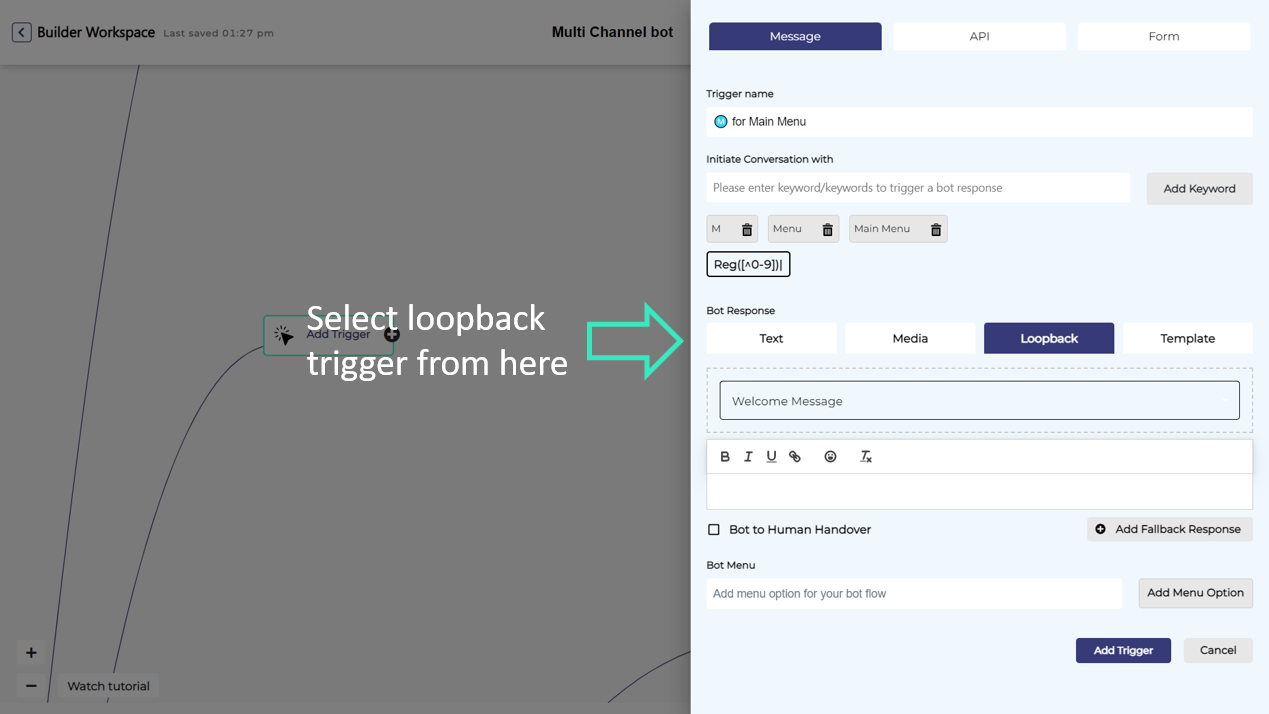
Add Loopback Response (Optional)
You can add a loop-back response to take your users to a specific menu option. You can choose the trigger from the list to trigger the specific flow.
Bot to Human Handover
At times your bot may not be able to provide an answer to your users, and they may require support from human agents to get help with complex queries. You can set the trigger here to allow your user to transfer the conversation to a human agent if needed by clicking the Bot to Human Handover checkbox.
API Block
During a conversation, your bot may want to receive user requests and provide a response against those requests. With the API Block you can make API calls to an external system to fetch or push data by integrating pre-built or external REST APIs as part of the bot conversation.
Creating the API
- Go to Builder canvas and click on Settings
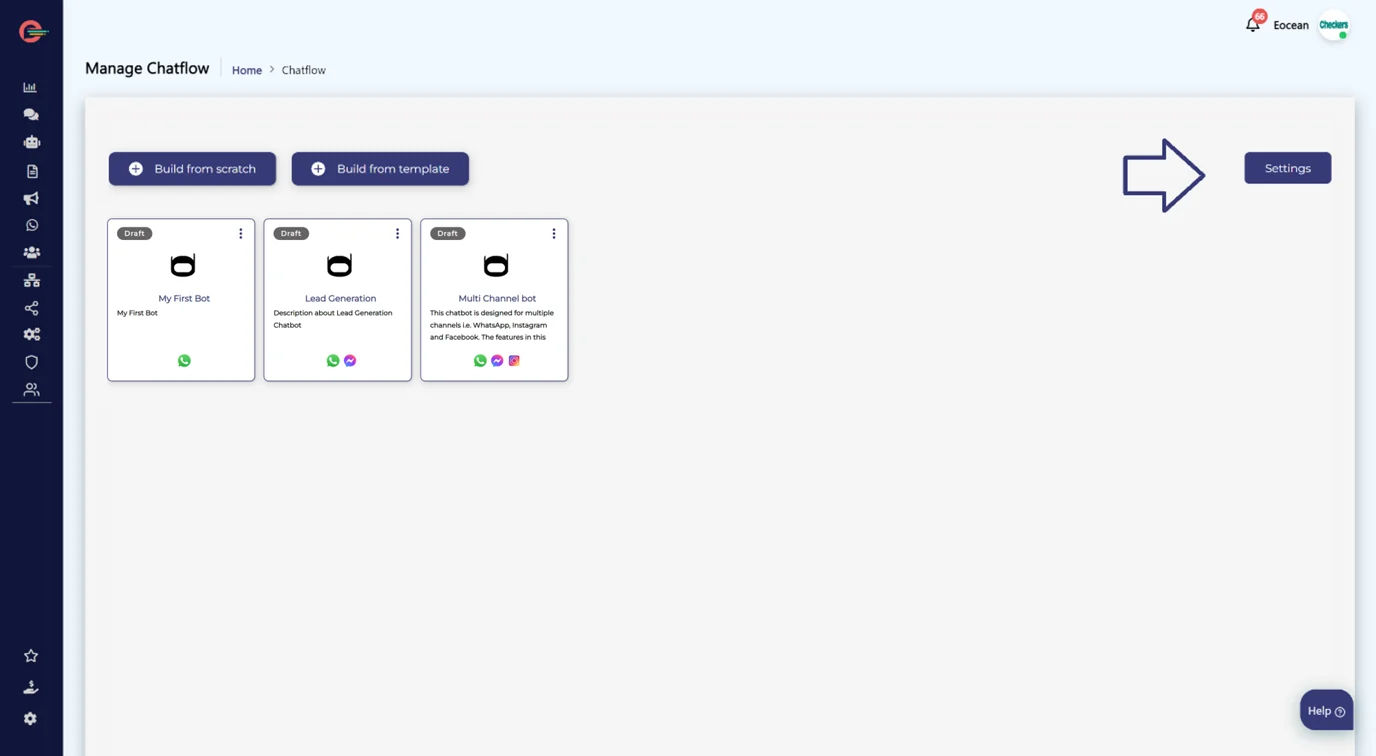
- Navigate to API > Create custom API to configure a new API call
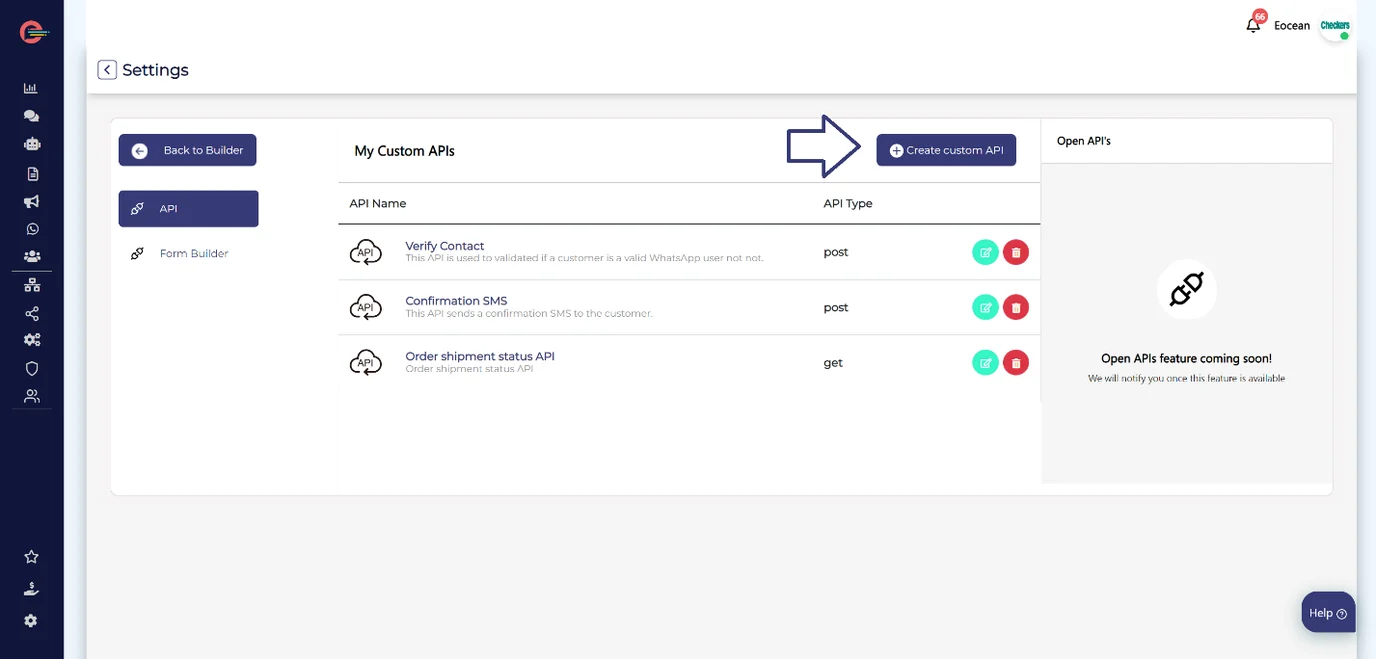
Configuring the API
- API Name: Give your API a suitable name.
- API Description: Provide a description about the intended use of the API
- API Type: Configure the type of API call you’re looking to make – GET, POST, PUT
- API Endpoint URL: Provide the endpoint URL here.
- API Header: You can authorize your APIs in this field and also pass any additional parameters as headers in this section.
- API Payload: Configure the API Payload in JSON. If there is a need for a dynamic parameter inside an API, you can insert a keyword here. For example, if you insert xparam then your bot will recognize it as a dynamic parameter.
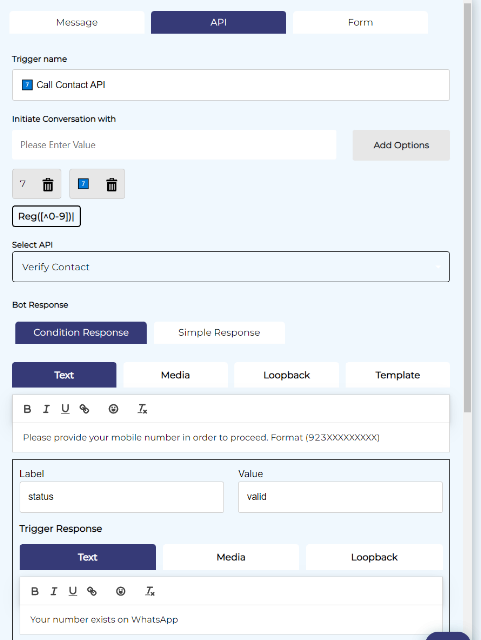
 Once your API is configured, you can use it in an API trigger by selecting your particular API from a drop down list and also set a response before calling the API.
In the Trigger response of an API, you can either set a Conditional Response or a Simple Response.
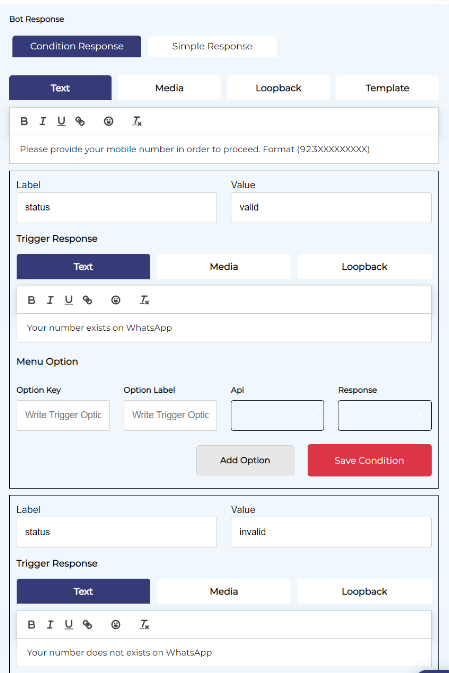
In Conditional Response, you can send dynamic bot responses according to the response of your API whereas Simple response sends a static bot response.
You can also loop back the user to any specific trigger from this flow. Make sure to click on Save condition button after adding a conditional response.
Form Block
Conversational form ensures a better user experience than a traditional web form. According to statistics from Chatbot manufacturers, answering a bot question is easier and more comfortable for users than filling a long and tiring web form.
You can use the Form Block to build conversational forms without any coding and add them to your bot flow to collect user data (name, email, phone number, city etc.) for multiple use cases such as booking appointments, registering for a product launch wait list, conducting surveys and more.
Creating conversation form
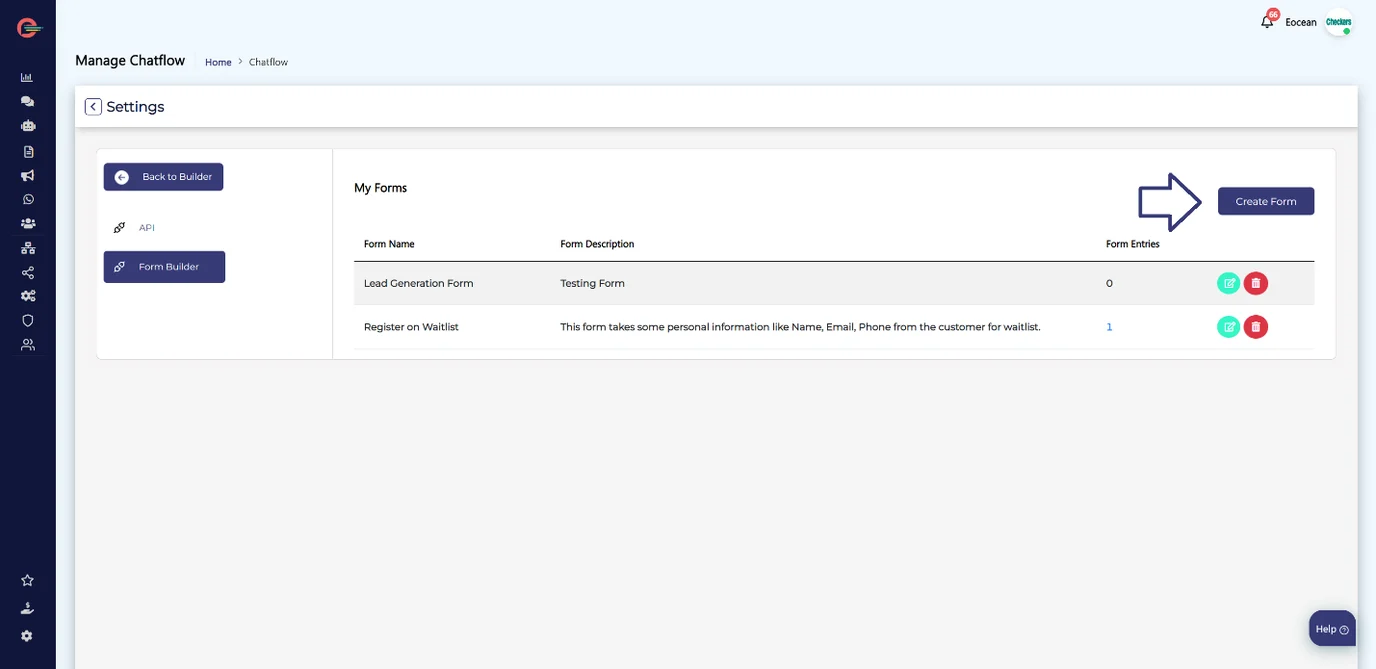
- Go to the Builder canvas and click on Settings
- Navigate to Form Builder > Create Form to create a new form
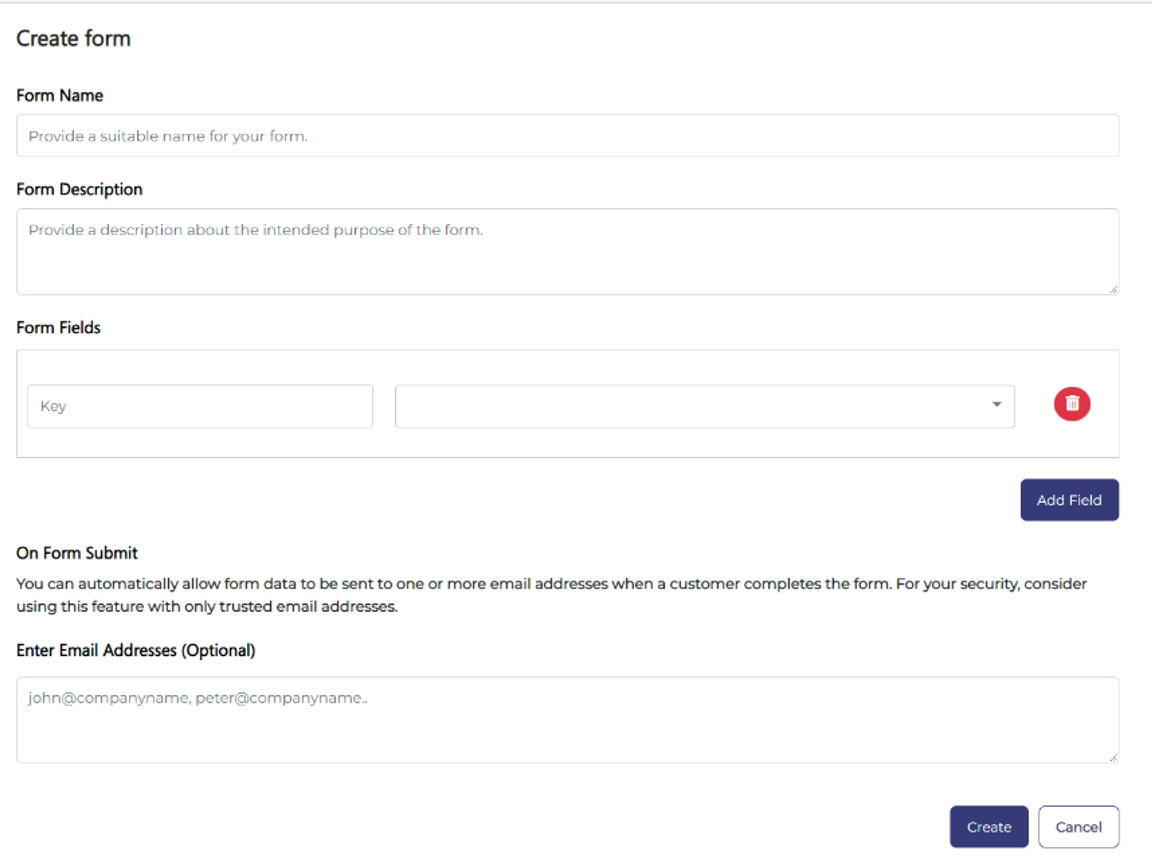
- Form Name: Provide a name for your form.
- Form Description: Provide a description about the intended purpose of the form.
- Form Fields: Add customer form fields one at a time and provide name and type (validate as text, email, number, regular expression) for each field.
- On Form Submit: You can provide a trusted email address to send form data upon form submission.
Creating welcome and confirmation message
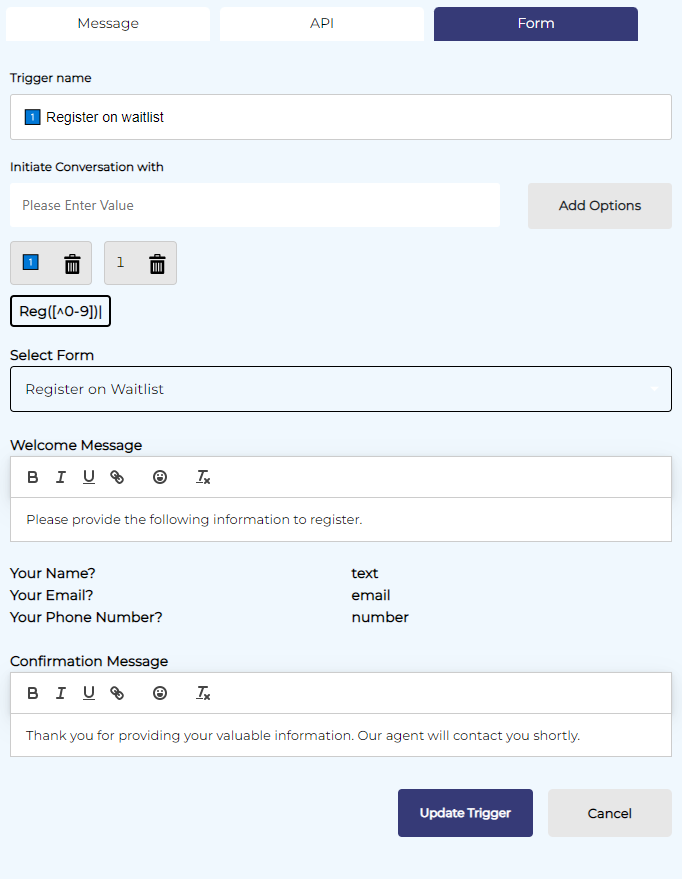
- Once you have created a form, you can select the newly created form from the drop-down list within the Form block
- You can then write a desired Welcome Message and it will appear at the beginning of the form.
- You can also provide a Confirmation Message to be shown after form submission.
- Click on Update Trigger to save the changes
Once you integrated the form in your bot flow and published your bot, all your form responses submitted by your users will be available here and you can also export data to excel for your business use.
Leave a Reply