Configure Platform Preferences
Digital Connect preferences allow you to configure default platform settings to help accomplish desired functionality. It is important to review all of the options available and apply configurations that meet your business needs
Only Administrators can access and setup Platform Preferences
You can configure your Platform Preferences by applying the following steps:
- Login to your Digital Connect account and click on Settings > Preferences
Setup your Timezone
In the Time Zone section, you can set a default time zone for your account using the drop down menu.

Enable Security
Typically, logging into Digital Connect requires just your username and password. With two-factor authentication (2FA) turned on, logging in requires verification using a code sent on your mobile phone or email address. Because logging in with 2FA requires an additional layer of security , the risk of a potential intruder gaining access to your account is much lower. In the Security section, you can enable two-factor authentication for your user accounts.
Once enabled, your users will receive a one-time code on their registered mobile phone number and/or registered email address to log in to their accounts.
- You can enable two-factor authentication by toggling the button towards right side.

- It will prompt the modal window asking you to select the check boxes to receive code via SMS or Email
-
Select your options and click save changes
Your users will now receive a unique code to login to their account as an added layer of security in addition to their account password.
It is recommended to enable both SMS and Email verification to avoid the possibility of SMS OTP delivery failures
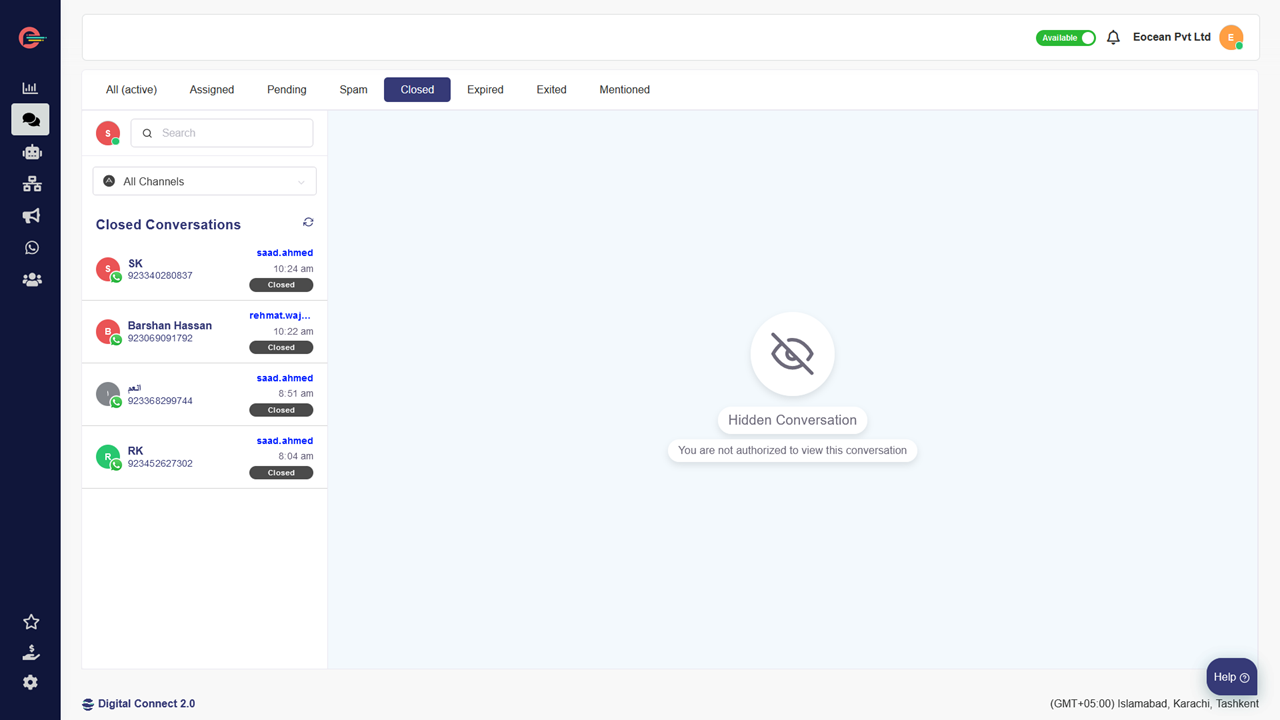
Auto-hide conversations
At times, due to compliance or security related requirements, you may be required to hide customer agent conversations once conversation status is marked closed by your agents.
You can enable auto-hide conversations feature by toggling the button towards right and click save changes.

Once enabled all conversations marked closed by your agents will be automatically hidden within the customer conversation window.
Automatically assign conversations
This feature is very helpful in case of high volume of incoming conversations to assign them to your agents automatically using a round-robin mechanism.
-
Toggle the icon towards right and click on save changes and all your conversations will be automatically assigned to your agents

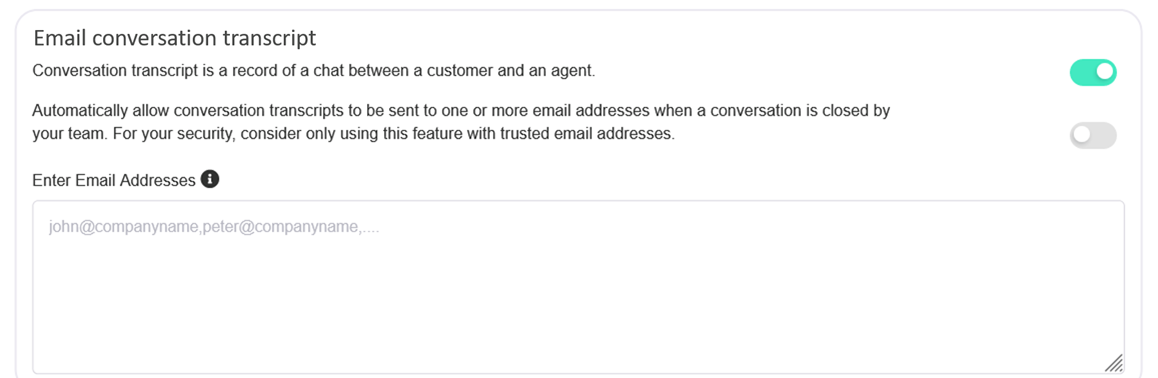
Email Conversation Transcript
This section allows you to configure authorized email addresses to receive a conversation transcript for each conversation once its closed by your agent.
Manually Email conversation transcript
You can allow your agents to manually email conversation transcripts on a case to case basis.
- Toggle the top icon towards right and add email addresses of your authorized recipients in the provided section under Enter Email Addresses.
-
Click save changes
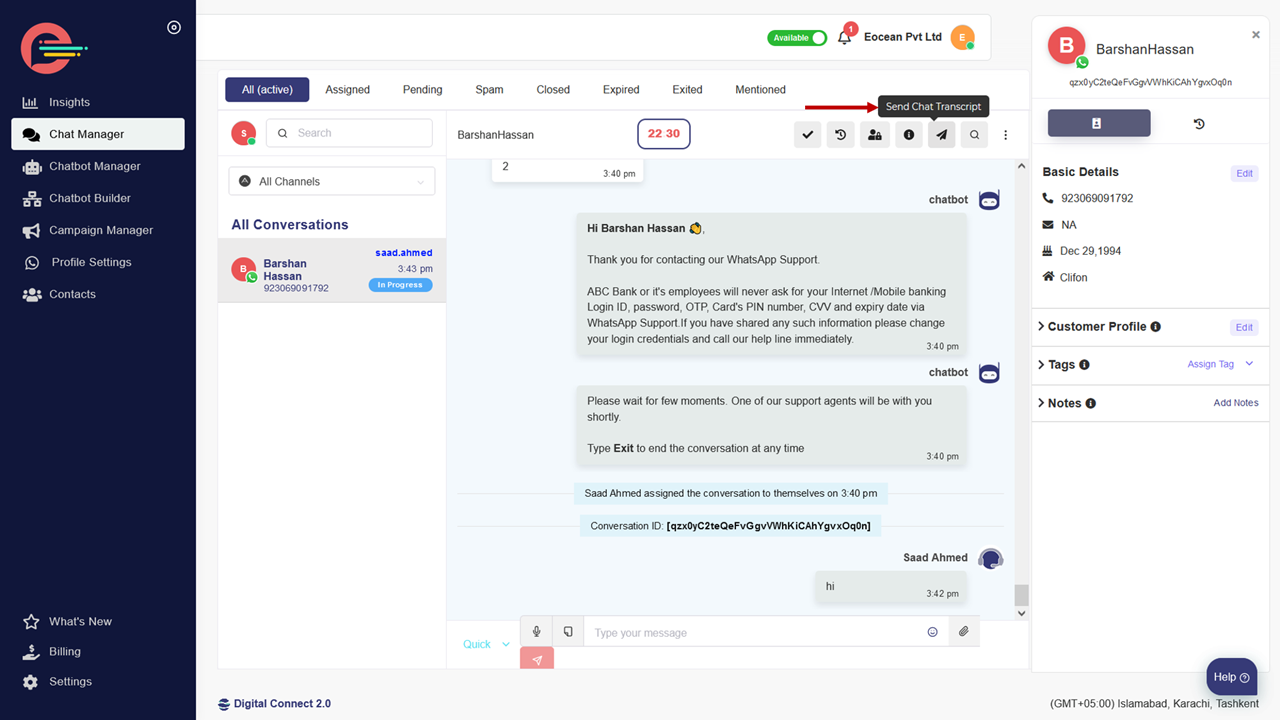
- Click on chat manager in the left navigation menu and then select any conversation
- Navigate to top right of the conversation window and click on Send Chat Transcript button to send email transcripts to authorized email recipients
Automatically email conversation transcript
-
Toggle the bottom icon towards right and Click save changes
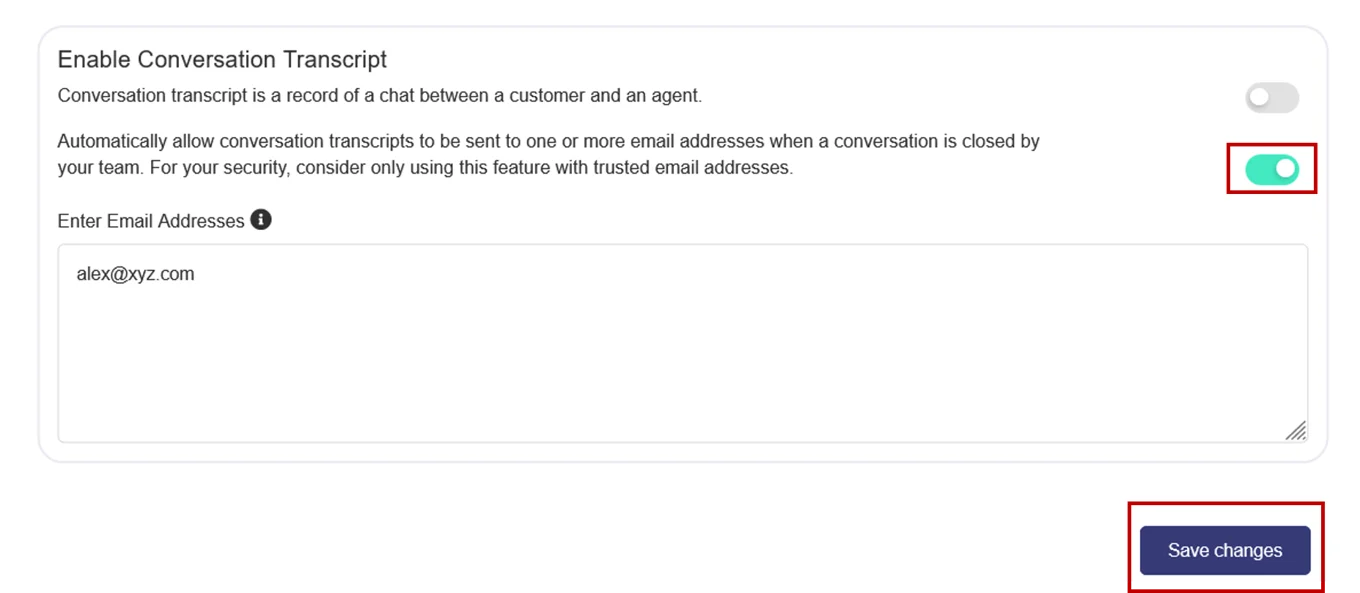 All your conversation transcripts will now be automatically emailed to your authorized email recipients once you agent marks the conversation as Closed.
Leave a Reply